 Save to Pinterest
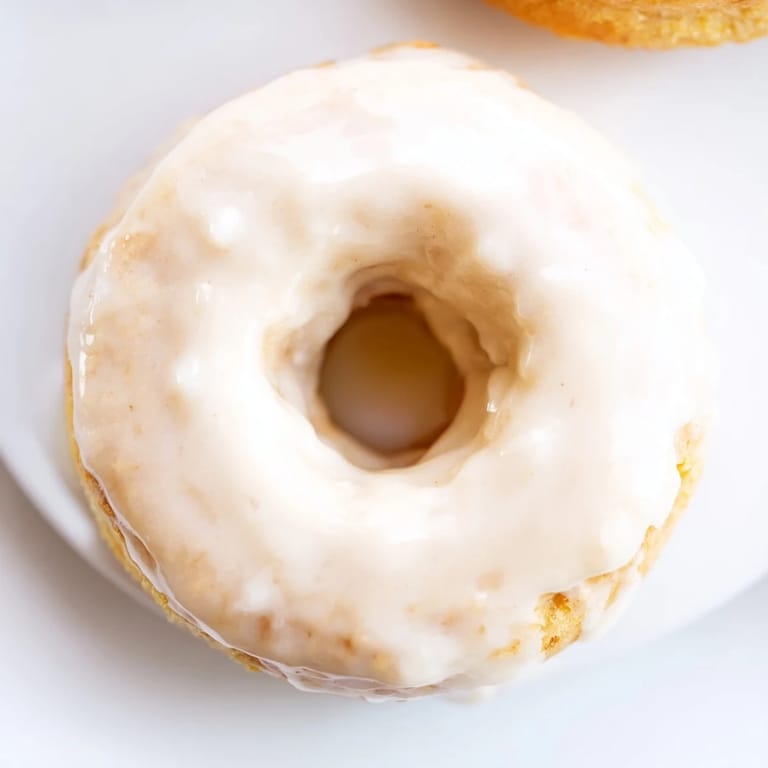
 There's something almost magical about biting into a donut that tastes like it came straight from a bakery, especially when you made it in your own kitchen without a deep fryer. I discovered muffin tin donuts on a lazy Sunday morning when I realized I had no excuse not to bake—no special equipment, no oil splattering everywhere, just a simple tin and an oven that had been waiting for a reason to get warm. The first batch came out golden and tender, and I glazed them while still warm, watching the white coating drip down the sides in that perfectly imperfect way. My kitchen smelled like a donut shop for hours, and honestly, that alone made the whole thing worth it.
I made these for my neighbor who'd mentioned craving donuts, and watching her face light up when she bit into one reminded me why homemade food feels so much more thoughtful than store-bought. She kept asking for the recipe, and I realized these weren't just easy to make—they were the kind of thing that actually impressed people, which felt like a small victory in my kitchen.
Ingredients
- All-purpose flour: This is your foundation, and measuring it properly matters—spoon it into your measuring cup and level it off rather than scooping straight from the bag, which can pack too much flour into your batter.
- Granulated sugar: Sweet but not overwhelming, giving the donut structure and a gentle sweetness that lets the vanilla shine through.
- Baking powder and baking soda: These two work together to create that light, fluffy crumb that makes baked donuts feel special instead of dense and heavy.
- Salt and ground nutmeg: Don't skip the nutmeg—it's the secret whisper that makes people wonder what they're tasting without quite being able to name it.
- Whole milk at room temperature: Cold milk can create lumps in your batter, so give it a few minutes on the counter before you start mixing.
- Unsalted butter, melted and cooled: Melting it first makes it easier to combine, and cooling it prevents the eggs from scrambling when you whisk them together.
- Eggs at room temperature: Just like the milk, room temperature eggs blend more evenly and create a smoother, more tender crumb.
- Pure vanilla extract: The real stuff makes a noticeable difference in flavor, creating that bakery-fresh taste you're after.
- Powdered sugar for the glaze: Sift it to avoid lumpy spots in your final coating, which is the difference between a professional-looking glaze and one that looks like it has a texture problem.
Tired of Takeout? 🥡
Get 10 meals you can make faster than delivery arrives. Seriously.
One email. No spam. Unsubscribe anytime.
Instructions
- Prepare your station:
- Preheat the oven to 350°F and grease your muffin tin thoroughly—those corners are sneaky about sticking. I use nonstick spray and then run my finger around each cup to make sure nothing is missed.
- Combine the dry ingredients:
- Whisk together flour, sugar, baking powder, baking soda, salt, and nutmeg in a large bowl until everything is evenly distributed. This step is less about being fancy and more about making sure the leavening agents are spread throughout so your donuts rise evenly.
- Mix the wet ingredients:
- In a separate bowl, whisk milk, melted butter, eggs, and vanilla together until smooth and fully combined. You're creating an emulsion here, so the mixture should look uniform and creamy.
- Bring it all together:
- Pour the wet ingredients into the dry ingredients and stir gently—and I mean gently—until just combined. Overmixing develops the gluten and makes your donuts tough instead of tender, so stop as soon as you don't see dry flour anymore.
- Fill the muffin tin:
- Divide the batter evenly among the cups, filling each about halfway. A small cookie scoop makes this easier and more consistent, and consistency is what separates good donuts from ones that bake unevenly.
- Bake:
- Bake for 14 to 16 minutes until a toothpick inserted in the center comes out clean. They should smell incredible when they're done, and the edges will look set while the center still feels just slightly tender.
- Cool in the tin, then transfer:
- Let them rest in the tin for 5 minutes before carefully turning them out onto a wire rack to cool completely. This resting period lets them firm up enough not to fall apart, while cooling them completely ensures the glaze won't melt right off.
- Make the glaze:
- Whisk powdered sugar, milk, and vanilla extract until smooth, adding milk a tablespoon at a time until you reach the thickness you want—it should coat the back of a spoon but still flow slowly.
- Glaze the donuts:
- Dip the top of each cooled donut into the glaze, let the excess drip off, and set it back on the rack to set. You'll see the glaze pool slightly at the edges, which is exactly what you want.
 Save to Pinterest
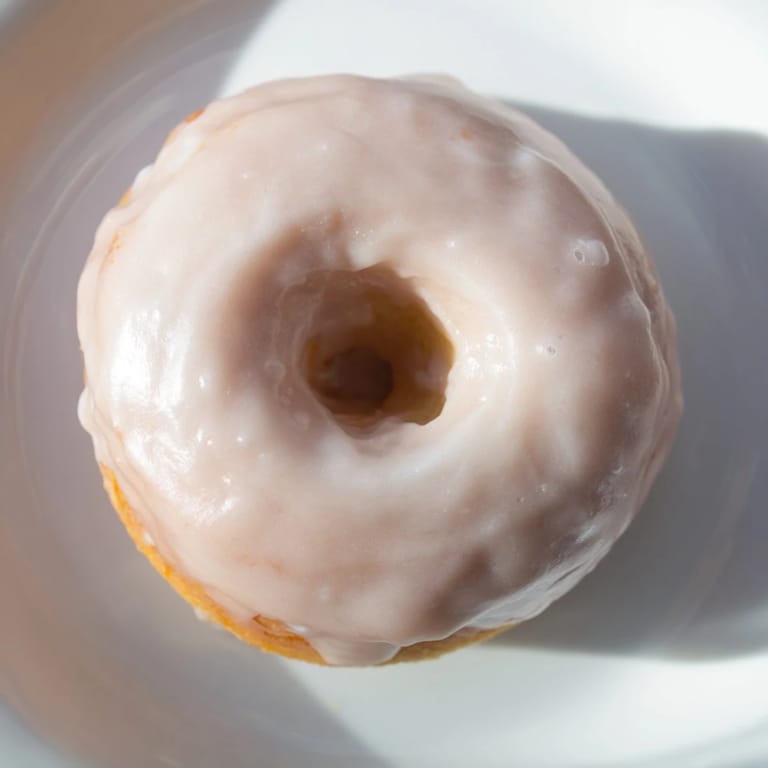
 I remember standing at the cooling rack, watching the glaze harden on these little golden rounds, feeling that quiet satisfaction that comes from creating something delicious without any stress or mess. That moment when something homemade looks just as good as what you'd buy—that's when you know you've found a recipe worth keeping.
Sweet Variations to Try
The base recipe is perfectly balanced on its own, but these donuts are blank canvases for your creativity. I've brushed warm donuts with melted butter and rolled them in cinnamon sugar, creating a texture contrast that feels almost more nostalgic than the glaze, and I've stirred sprinkles or crushed nuts into the glaze itself for a festive look that kids somehow always notice first. You could also infuse the glaze with almond extract, lemon zest, or even a tiny pinch of espresso powder if you want to experiment.
Making Them Dairy-Free
Swapping plant-based milk and butter for the dairy versions works beautifully if you're baking for someone with allergies or you're just exploring that direction yourself. The donuts won't taste noticeably different, which I think is the real test of a good recipe—it should be delicious regardless of small ingredient swaps. Just make sure your plant-based butter is actually melted before you combine it with the milk and eggs so everything emulsifies properly.
Storing and Enjoying
These donuts stay fresh in an airtight container on the counter for two days, though they rarely last that long in my house. You can even freeze them unfrosted for up to three weeks, thawing them at room temperature before glazing, which means you can have fresh donuts whenever the mood strikes. A quick tip: if your glaze ever hardens too much before you're finished dipping, just warm it gently over low heat or add a tiny splash of milk and whisk it smooth again.
- Always let donuts cool completely before glazing so the coating sets properly instead of sliding right off.
- Fill your muffin cups only halfway so they have room to rise and don't overflow onto the tin.
- These freeze beautifully both glazed and unglazed, making them perfect for meal prepping or satisfying sudden donut emergencies.
 Save to Pinterest
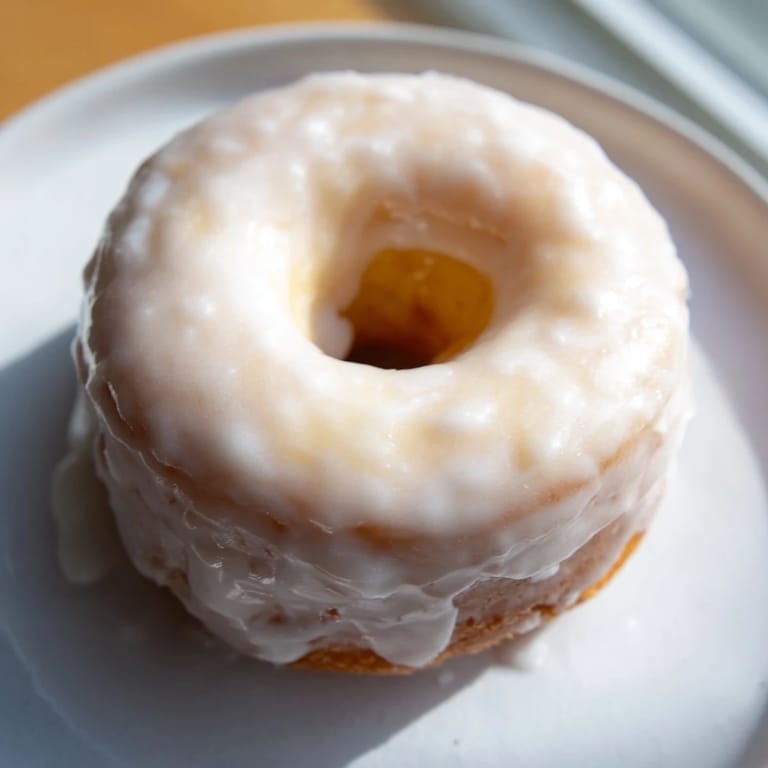
 There's something beautifully simple about a homemade donut that tastes like the real thing, and this recipe has become my go-to whenever I want to impress someone or just treat myself on a quiet morning. Once you realize how easy they are, you'll find yourself making them again and again.
Recipe FAQs
- → Can I use a different milk type in the batter?
Yes, you can substitute whole milk with plant-based options such as almond or oat milk to suit dietary preferences.
- → How do I ensure the muffins rise well in the tin?
Make sure to mix wet and dry ingredients gently and avoid overmixing, which helps maintain a light, tender crumb and good rise.
- → What alternatives to the sweet glaze can I use?
Try brushing warm donuts with melted butter and dipping them in cinnamon sugar or sprinkle crushed nuts for a festive twist.
- → How to store these baked items to keep them fresh?
Store cooled donuts in an airtight container at room temperature for up to 2 days or refrigerate for longer freshness.
- → Can I prepare the batter ahead of time?
It's best to bake the batter soon after mixing to ensure optimal rise and texture, but you can refrigerate it up to a few hours before baking.