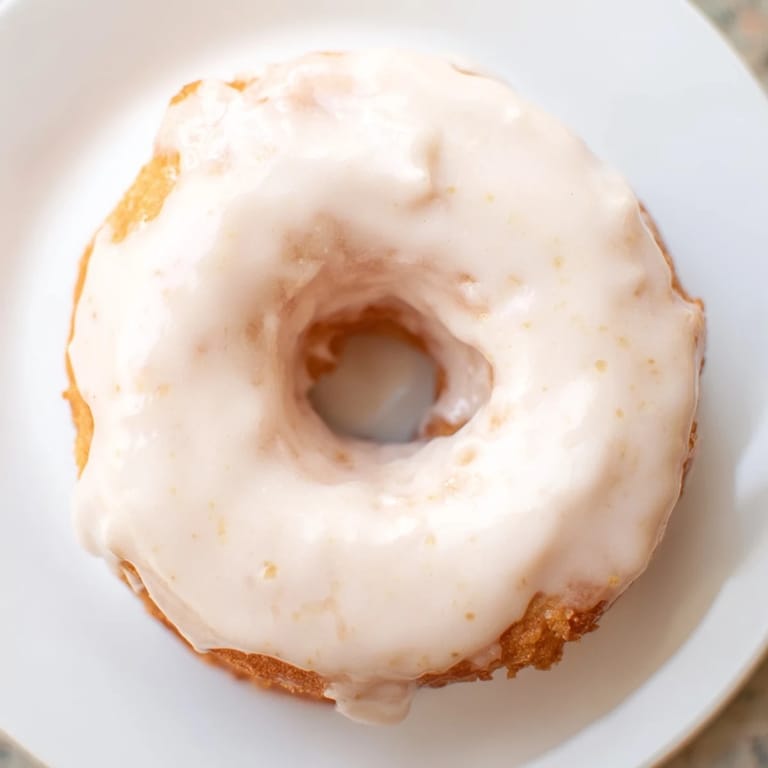
 Save to Pinterest
 There's something almost magical about the moment a batch of yeast donuts hits hot oil—that sudden sizzle that fills your kitchen with warmth and promises. I discovered this recipe on a Saturday morning when my neighbor stopped by with coffee, and we ended up spending three hours making donuts together, laughing at our failed attempts to get the glaze thickness just right. What started as a casual kitchen experiment became our ritual, and now I can't imagine a lazy weekend without that familiar dance of rolling, cutting, and frying.
I'll never forget serving these to my book club when I was nervous about hosting for the first time—everyone went quiet the moment they bit into one, and then suddenly everyone wanted the recipe. That's when I knew I'd nailed something special.
Ingredients
- All-purpose flour: The foundation of every donut; use the 440g weight if you have a scale, since scooping can pack flour differently each time.
- Whole milk, warmed: Warmth activates the yeast faster, so aim for around 110°F (43°C)—too hot and you'll kill the yeast, too cold and it'll sulk.
- Unsalted butter, melted: Room temperature eggs and melted butter create that tender crumb; cold butter makes the dough tougher.
- Granulated sugar: Feeds the yeast and sweetens the dough itself, giving the donuts depth beyond just the glaze.
- Active dry yeast: One packet equals about 2 1/4 teaspoons; check the expiration date because stale yeast is the silent killer of bread projects.
- Eggs, room temperature: They bind everything together and add richness; pull them from the fridge 30 minutes before you start.
- Fine salt: Balances sweetness and strengthens the gluten network, so don't skip it thinking it won't matter.
- Neutral oil for frying: Canola or vegetable oil won't compete with the vanilla glaze flavor.
- Powdered sugar, sifted: Lumps in glaze are the enemy; sifting takes two extra minutes and changes everything.
- Vanilla extract: Pure vanilla, not imitation, because you deserve the real thing in something this special.
Tired of Takeout? 🥡
Get 10 meals you can make faster than delivery arrives. Seriously.
One email. No spam. Unsubscribe anytime.
Instructions
- Wake up the yeast:
- Combine warm milk and yeast in a small bowl and let it sit. After about 5 minutes you'll see it get foamy and smell that distinctive yeasty aroma—that's your signal everything's alive and ready.
- Build your base:
- Whisk flour, sugar, and salt together in your mixer bowl so the yeast and eggs will distribute evenly when they arrive.
- Bring it together:
- Pour the foamy yeast mixture, melted butter, and eggs into the dry ingredients. Mix until you have a shaggy, sticky dough that looks impossible to work with—this is exactly right.
- Knead until smooth:
- On medium speed (or by hand if you're going old school), knead for 5–7 minutes until the dough transforms into something smooth and elastic that springs back when you poke it. You'll feel the exact moment it stops being sticky and starts being alive.
- First rise:
- Place the dough in a greased bowl, cover it with a damp towel, and let it sit in a warm spot until it's doubled in size—usually 1–1.5 hours. A turned-off oven with the light on works beautifully for this.
- Roll and cut:
- Turn the risen dough onto a floured surface and roll it to about 1/2-inch thickness. Use a floured donut cutter to create perfect rings, and save those little holes—they fry up into adorable donut holes.
- Second rise:
- Arrange your cut donuts on parchment-lined trays, cover loosely, and let them puff for 30–45 minutes until they look almost too delicate to touch. They should jiggle slightly when the tray moves.
- Heat the oil:
- Get your oil to exactly 350°F (175°C) using a thermometer—this is non-negotiable because too hot and they're crispy outside with raw dough inside, too cool and they're greasy sponges.
- Fry with confidence:
- Carefully slide donuts into the hot oil a few at a time and fry for about 1–1.5 minutes per side until they're golden brown and smell absolutely incredible. A slotted spoon makes transferring them to a paper-towel-lined rack feel almost graceful.
- Make your glaze:
- Whisk powdered sugar, milk, vanilla, and salt together until completely smooth with no lumps lurking in the corners. It should be thick enough to coat a spoon but thin enough to drip.
- Final dip:
- While donuts are still warm, dip them into the glaze, twist gently to let excess drip off, and place them back on the rack to set. The warm donut melts the glaze into the most luxurious coating.
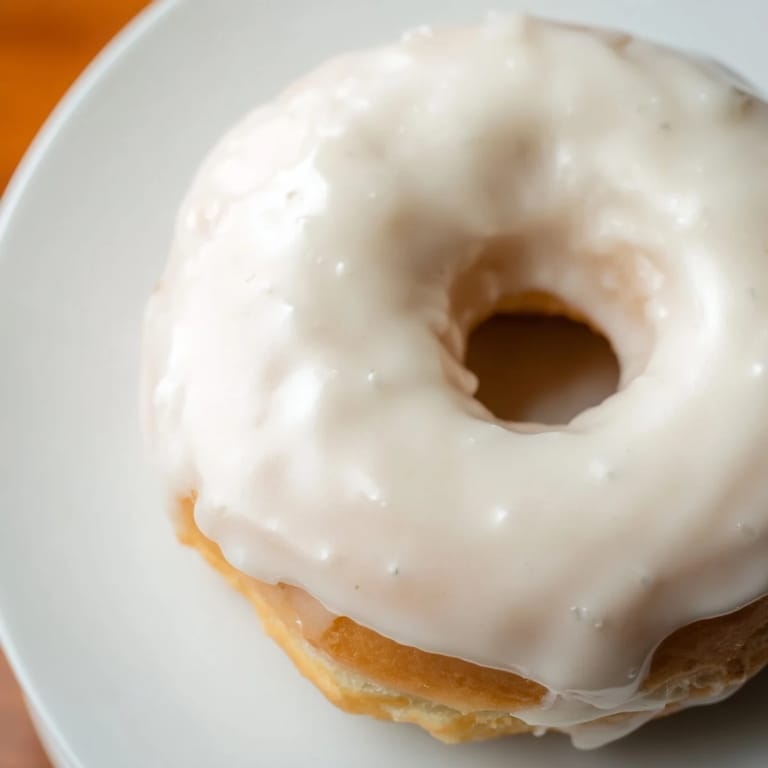 Save to Pinterest
 What strikes me most is how making donuts slows you down—there's no rushing the rises, no skipping steps—and somehow that becomes the whole point. You end up standing in your kitchen on a Sunday morning, smelling butter and vanilla, and realize you wouldn't rather be anywhere else.
Timing and Planning
The clock is generous here, even though two and a half hours sounds long. The rising time actually gives you windows to do other things—shower, tidy up, make coffee—so you're not standing around waiting. I've learned to start these on Saturday mornings knowing they'll be perfect for lunch or an afternoon snack.
Flavor Variations
Once you master the basic vanilla glaze, the possibilities become irresistible. I've brushed nutmeg into the dough for a subtle warmth, stirred almond extract into the glaze for something floral, and even dusted them with cinnamon sugar while the glaze was still wet. The recipe is forgiving enough to handle your experiments, and honestly, even your failures taste pretty incredible fresh and warm.
Storage and Second Life
Fresh donuts are transcendent, but day-old donuts have their own charm if you know how to treat them. Store them in an airtight container at room temperature, and they'll stay soft for 1–2 days; a quick 10-second toast in the microwave brings back that just-made softness. Some mornings I find myself reaching for day-old donuts with my coffee because there's something comforting about knowing exactly what you're getting.
- Never refrigerate them—cold temperatures stale them faster than time alone would.
- You can freeze glazed donuts for up to a month; thaw them at room temperature and they'll taste nearly as good as fresh.
- Donut holes are actually the perfect grab-and-go item if you're making these for a crowd.
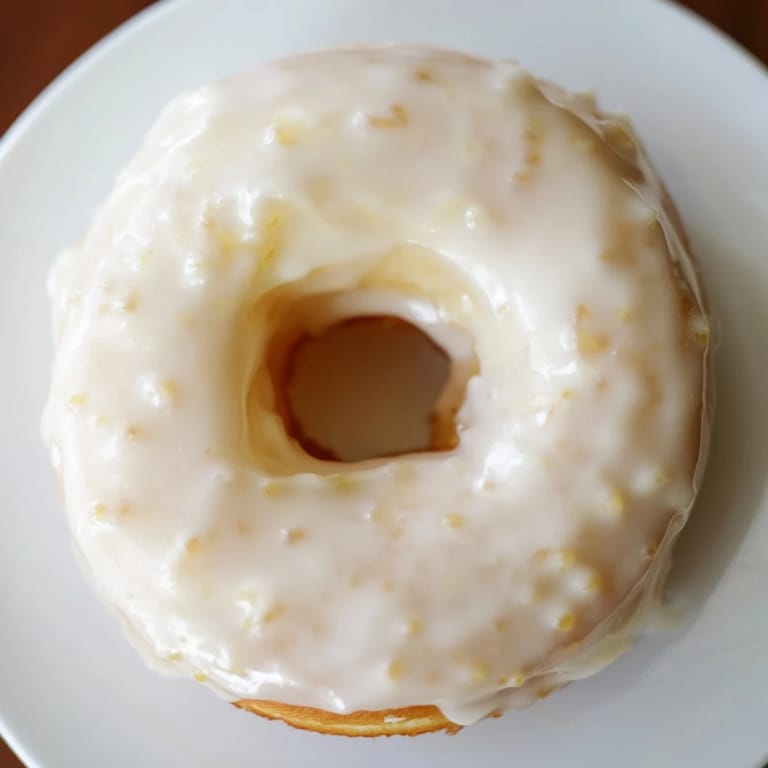 Save to Pinterest
 Homemade donuts are ridiculously simple when you understand what's happening at each step, and once you've made them once, you'll keep making them. There's no mystery, no fancy technique, just warmth and timing and the joy of biting into something you made with your own hands.
Recipe FAQs
- → What makes these donuts light and airy?
The yeast helps the dough rise in two stages, creating a soft, airy texture that's light yet tender.
- → How do you achieve a smooth vanilla glaze?
Whisk powdered sugar with milk and pure vanilla extract until smooth, ensuring a glossy coat on each donut.
- → What oil is best for frying these donuts?
Neutral oils like canola or vegetable oil work well for frying, providing a clean taste and even browning.
- → Can I prepare the dough ahead of time?
Yes, after the first rise, the dough can be refrigerated to slow fermentation, then shaped and fried later.
- → How to store leftover donuts?
Keep them in an airtight container to maintain freshness, best consumed within 1 to 2 days.