 Save to Pinterest
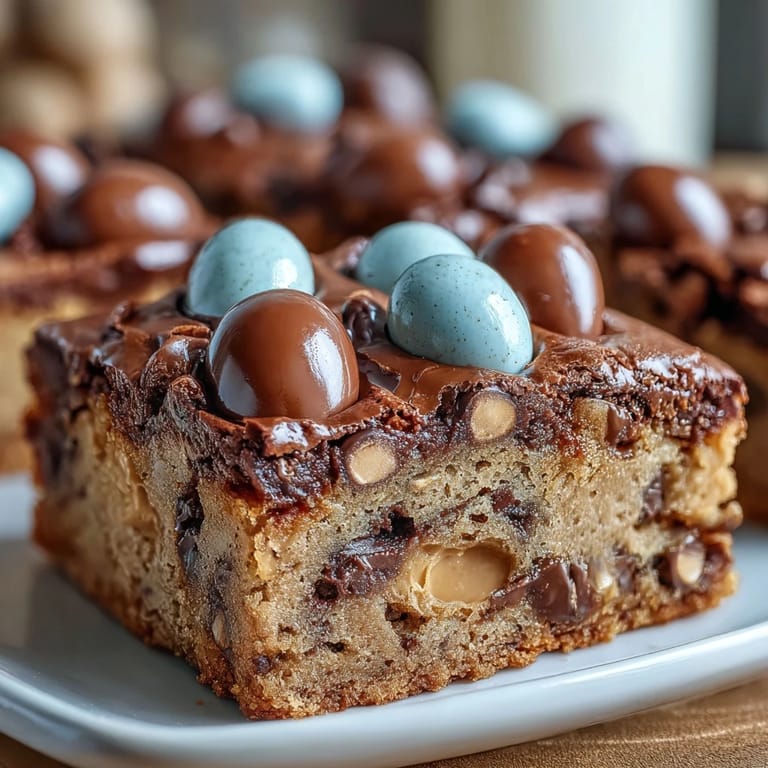
 The smell of warm peanut butter always reminds me of early spring days, the kitchen filled with bright sunlight and a hint of anticipation for the holidays ahead. When I first stumbled upon this Peanut Butter Easter Egg Cookie Bars recipe, it was less about tradition and more about pure dessert joy—the cheerful crunch of pastel candies felt like a celebration in itself. One rainy afternoon, I decided these bars would be the perfect treat to bring some color indoors, and the act of pressing those candies into the soft dough became surprisingly meditative. It’s a recipe that invites playful creativity, especially when you’re surrounded by heaps of Easter egg chocolates. Making these felt like the dessert equivalent of dyeing eggs: messy, sweet, and worth every finger lick.
I still remember the year my cousins dropped by unannounced hours before dinner, and these cookie bars saved the day. We laughed as we crammed candies into the dough, debating which color looked best on top, and the joy was in not striving for perfection. Watching the bars bake, the kitchen felt lively, filled with the chatter of impatient taste-testers. We all agreed that they were better with a glass of cold milk, shared around the crowded table. There are very few desserts that can turn a hectic afternoon into a memory you’d want to relive.
Ingredients
- Unsalted butter: Melting the butter and letting it cool slightly helps create a softer bar—don’t rush this step.
- Creamy peanut butter: Smooth peanut butter is best here—I’ve learned chunky versions make the dough harder to spread.
- Light brown sugar: Its deep caramel notes balance the nuttiness and keep the bars moist.
- Granulated sugar: Adds sweetness without overpowering.
- Eggs: Room temperature eggs combine more easily; set them out early if you remember.
- Vanilla extract: Just a teaspoon brings out that classic cookie flavor.
- All-purpose flour: Don’t overmix or you’ll lose that tender, chewy bite.
- Baking powder, baking soda, and salt: Each plays a subtle role—lift, spread, and flavor respectively.
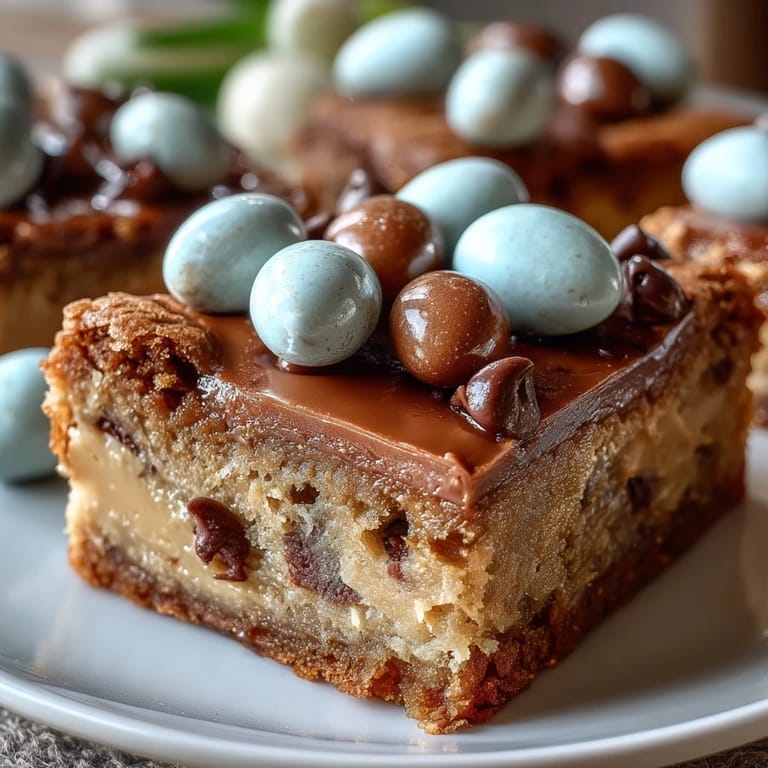
- Easter egg chocolate candies: These add color and fun; press extras on top for a picture-perfect finish.
- Semi-sweet chocolate chips (optional): A handful makes the bars even richer, but skip them if you prefer a lighter treat.
Tired of Takeout? 🥡
Get 10 meals you can make faster than delivery arrives. Seriously.
One email. No spam. Unsubscribe anytime.
Instructions
- Prepare your pan:
- Line a 9x9-inch baking pan with parchment, leaving an overhang so the bars lift out smoothly later.
- Mix the wet ingredients:
- In a big bowl, whisk together melted butter, peanut butter, brown sugar, and granulated sugar until the mixture is creamy and well blended.
- Add eggs and vanilla:
- Drop in the eggs and pour the vanilla, whisking gently until every swirl disappears.
- Combine dry ingredients:
- In a separate bowl, lightly whisk flour, baking powder, baking soda, and salt; this step prevents clumps.
- Fold it all together:
- Fold the dry mix into the wet with a spatula; stir only until the flour vanishes and the dough starts coming together.
- Add the mix-ins:
- Scatter in Easter egg candies and chocolate chips, then gently fold them in so the colors stay vibrant.
- Shape and decorate:
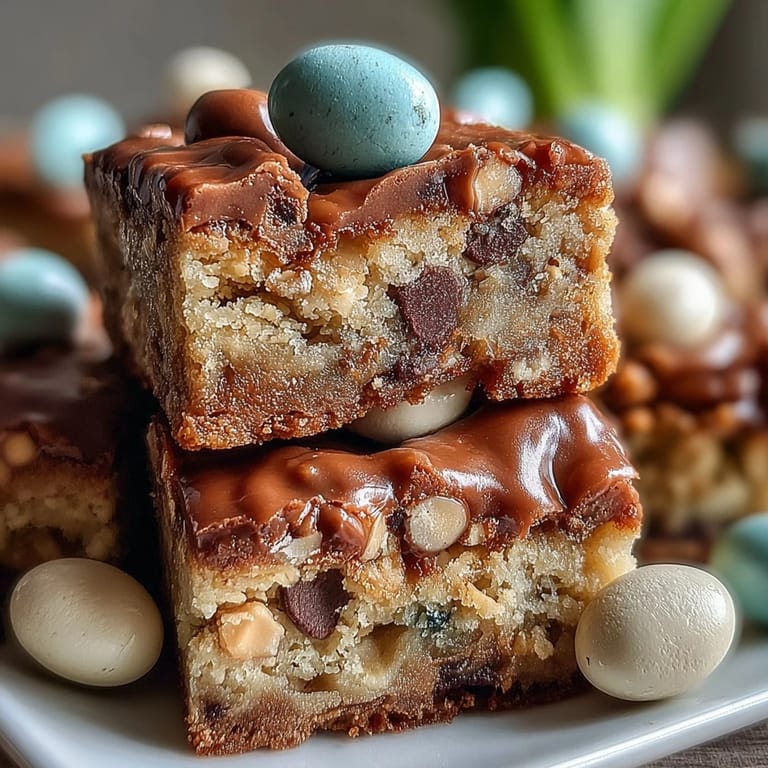
- Spread dough into the pan, smoothing the top; now press extra candies on as artfully or messily as you like.
- Bake:
- Slide the pan into the oven, baking for 22-25 minutes until edges are golden and center is set yet soft.
- Cool and slice:
- Let the bars cool in the pan fully, then lift out using the parchment, and slice into squares when ready to serve.
 Save to Pinterest
 On Easter morning, these bars turned into a kind of edible scavenger hunt for my nieces—they would race to find the square with the most eggs. Somehow, the treats went from mere dessert to a centerpiece, brightening baskets and sparking friendly rivalry. Seeing their faces light up made my little experiment feel like the start of a new family tradition. The fact that there were no leftovers was its own compliment. Sometimes food speaks louder than words.
Making Cookie Bars with Kids
Having little hands help with candy pressing always adds a bit of chaos and charm to the process. Some candies end up hidden in corners, while others form accidental patterns. If you invite kids into the kitchen, be ready for giggles, spills, and delight at seeing the colors pop through the golden dough. It’s the perfect recipe for teaching younger bakers the magic of simple assembly. You’ll find that their chosen color combos rival even the fanciest seasonal designs.
Easy Swaps for Year-Round Fun
Chocolate candies come in all shapes and colors, which means you can make these bars for any event—swap pastel eggs for anything from red hearts to fall leaves. I discovered that substituting butterscotch chips or white chocolate also makes each batch feel unique. If you’re out of peanut butter, almond butter works for a subtler flavor. These bars make adapting for allergies or preferences simple without sacrificing texture. Keep experimenting, and you’ll always have a festive treat.
Storing & Serving Tips
Cookie bars are at their best a day after baking, when the flavors deepen and the texture stays soft. Store them in an airtight container, and they’ll stay fresh for days if you can resist them that long. They’re easy to pack for picnics or lunchboxes, and I like to slice them into big squares for parties and tiny bites for coffee break treats.
- Slice after cooling to avoid crumbling.
- Bars freeze well—just layer parchment between them.
- Serve with cold milk or coffee for maximum comfort.
 Save to Pinterest
 I hope you catch a bit of that springtime cheer each time you pull a pan of these cookie bars from your oven. They have a knack for turning any gathering—planned or spontaneous—into something sweeter.
Recipe FAQs
- → Can I use natural peanut butter?
Natural peanut butter can be used, but bars may be slightly more crumbly. Stir well before adding.
- → What can I substitute for Easter egg candies?
Try regular chocolate candies, chocolate chips, or chopped chocolate for a similar texture and flavor.
- → How do I store the bars?
Store in an airtight container at room temperature for up to 4 days to keep them soft and fresh.
- → Can these bars be frozen?
Yes, slice and freeze in layers with parchment paper for up to two months. Thaw before serving.
- → Are these bars vegetarian?
Yes, the bars are vegetarian. Always check candy labels for any animal-derived ingredients.
- → How can I make the bars more peanut buttery?
Drizzle melted peanut butter over cooled bars or add extra peanut butter to the dough for enhanced flavor.